As we promised in our last post, building a shed is easy… Well, it is when you know-how and have a bit of guidance!
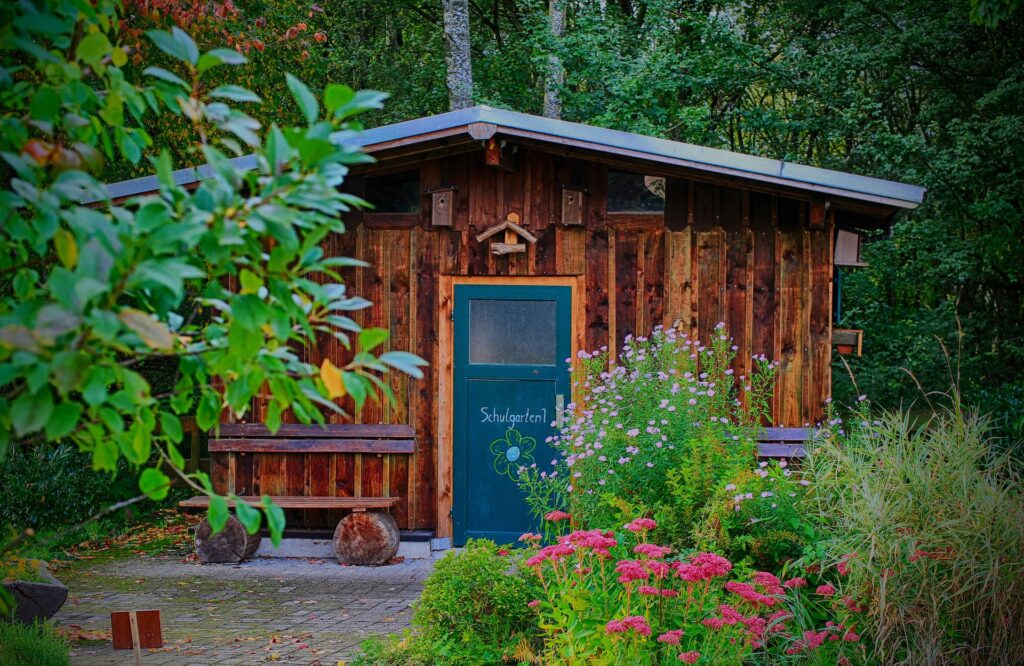
These outdoor constructions are useful for so many reasons not least to store garden equipment such as lawnmowers and tools but also for other storage for items too big to keep in the house like bicycles. No matter what the reason or what the size shed you need to build there are certain steps you will need to take whether building a chicken coop or large framed garden shed.
Looking for more than just shed plans? There are 16,000 woodworking projects here…
In our 10 simple steps below we outline the order in which you need to work to get the job done quickly and with the least hassle. Remember you don’t have to be a carpenter and anybody at any skill level can be successful at shed making so let’s get started…
10 Steps
Step 1 – Ok before you start you need to find out where to construct it in your garden or yard. Do you have enough room for the finished article and also enough room to manoeuvre?
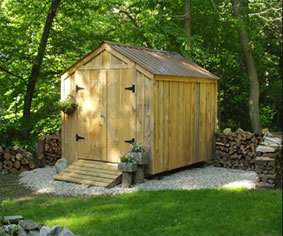
Step 2 – Once you know the size and exact location, decide on the design and type of shed. Is it going to be wooden or will it have windows for example? You can get the final design from here or have them drawn up specifically for you and your needs. Many home improvement stores will do this for you but both will provide you with a list of materials you will need.
Step 3 – Go and buy the materials you need as per the plans above. Ensure that you are fully prepared and have everything you need before construction begins to make your life easier.
Step 4 –You have to make ground is level and clear of unwanted objects. After that you laying the shed foundation. Did you opt for a concrete base or wooden plank floor?
Step 5 – Separate your materials that you bought for the side walls as you need them now. Construct the walls separately and lift them together over the base once completed. Simply follow the plans blueprint for all construction!
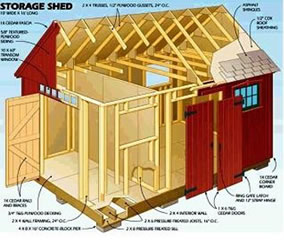
Step 6 – When the walls are in place, begin roof construction. Build the trusses by creating one and then using that as a template for the rest.
Step 7 – Don’t ever deviate from your original plans or make any major adjustments to the design as this could cause real headaches. Build the end walls and insert the frame as per the plans. How this achievement will depend on your own particular design and what type of door you may have.
Step 8 – Now your walls are in place, fix the roof according to your instructions. Now the final shape is mostly complete, ensure a high level of quality trim. Take your time so that it looks professional as this is what will give it a good finished look.
Step 9 – Apply the shingles, door, window glass, and other finishing touches. It is very important to treat the wood for protection and to make it last. Cover the wood in a protective coating such as wood stain, varnish or paint.
Step 10 – That’s it! It wasn’t that difficult was it and how satisfied do you now feel?
Congratulations!
These steps outline the basics of how to go about building a shed. However, details and instructions can be found in the free one here or in Ryan Henderson’s ‘My Shed Plans‘.